Learn effective techniques for fixing paint chips, repairing paint flakes, and touching up paint on your walls with our comprehensive guide.Are you tired of seeing unsightly paint chips and flakes on your walls? It’s a common problem that can make your home look neglected and in need of repair. However, the good news is that repairing paint chips on your wall is a straightforward task that you can easily tackle yourself. In this blog post, we will discuss three effective methods for fixing paint chips on your wall, as well as how to touch up any remaining imperfections. Whether you’re dealing with small chips or larger flakes, we’ve got you covered with step-by-step instructions for achieving a seamless finish. Say goodbye to those frustrating paint chips and hello to a beautifully refreshed wall – it’s easier than you think! Keep reading to learn how to restore the beauty of your walls with these simple yet effective techniques.
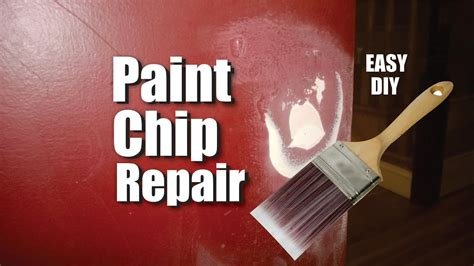
How to Fix Paint Chips on Wall
Paint chips on your wall can be unsightly and make your home look unkempt. Fortunately, there are simple ways to fix them without having to repaint the entire wall. One method is to use a putty knife or a scraper to gently remove any loose paint around the chipped area. After that, you can use a fine-grit sandpaper to smooth out the edges of the chipped paint, making sure the surface is clean and dry before proceeding.
Another way to repair paint chips on your wall is to apply a primer to the affected area before touching it up with the same color of paint. Make sure to apply the paint evenly with a small brush or roller, blending it with the surrounding area. After the paint has dried, you can use a clear sealant to protect the touch-up area and ensure a seamless finish. With these simple steps, your wall will look good as new!
How to Repair Paint Flakes on Wall
Paint flaking on your walls can be a frustrating issue to deal with. Whether it’s due to humidity, poor preparation, or simply the age of the paint, it’s important to address the problem to prevent further damage. Luckily, repairing paint flakes on your wall is a manageable task that you can tackle with the right tools and a bit of patience.
First, you’ll need to remove any loose paint flakes from the wall surface. Use a putty knife or a scraper to gently lift and remove the loose paint. Be sure to wear a dust mask and goggles during this process to protect yourself from inhaling any paint particles. Once you’ve removed the loose paint, it’s important to sand the edges of the remaining paint to create a smooth surface for the touch-up paint to adhere to. After sanding, wipe the area clean with a damp cloth to remove any dust or debris. Now, you’re ready to apply a primer to the repaired area. This will help the touch-up paint adhere properly and blend seamlessly with the rest of the wall. Once the primer is dry, you can use a small paintbrush to carefully apply the touch-up paint, feathering the edges to blend it with the surrounding paint. Allow the touch-up paint to dry completely, and voila! Your wall will look as good as new.
How to Touch Up Paint Chips on Wall
Paint chips on the wall can be an eyesore, but luckily, they can be easily fixed with a few simple steps. The first thing you’ll need to do is gather the necessary materials, including a small container of matching paint, a paintbrush, sandpaper, and a clean cloth. Once you have everything you need, start by lightly sanding the chipped area to smooth out any rough edges. Next, use a clean cloth to wipe away any dust or debris from the area.
Once the area is prepped, use the paintbrush to carefully apply the matching paint to the chipped area. Depending on the size of the chip, you may need to apply multiple coats of paint to fully cover the area. After the paint has dried, use the sandpaper to gently buff the area to ensure a smooth and seamless finish. And just like that, your wall will look good as new!