Learn the steps to resilver a mirror and repair desilvering with our detailed guide on the mirror resilvering process. Expert tips included.If you have noticed that your mirror is starting to show signs of desilvering, don’t worry, because it’s entirely fixable. Desilvering occurs when the protective layer on the back of the mirror starts to deteriorate, causing black spots or areas of discoloration. In this blog post, we will go through the process of repairing mirror desilvering, particularly focusing on how to resilver a mirror. We will discuss the steps involved in the mirror resilvering process, as well as provide tips and tricks to help you achieve the best results. By the end of this post, you’ll have the knowledge and confidence to tackle your desilvered mirror and restore it to its former glory. So, let’s get started on learning how to bring new life to your old, desilvered mirror!
How to Resilver a Mirror
Mirrors can add a touch of elegance to any room, but over time, they may start to lose their luster as the silver backing begins to deteriorate. If you have a mirror that is starting to show signs of desilvering, there is no need to toss it out and buy a new one. With the right materials and a little bit of patience, you can actually repair the desilvering and bring your mirror back to its former glory. Here is a step-by-step guide on how to resilver a mirror.
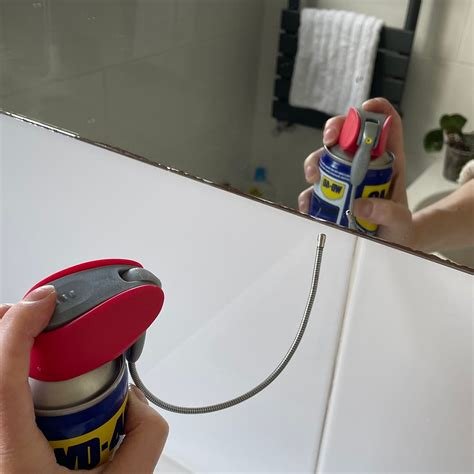
To start, you will need to gather a few supplies, including silver nitrate, ammonia, distilled water, and a spray bottle. You will also need some basic tools like a paintbrush, a soft cloth, and a razor blade. Once you have everything you need, you can begin the process of resilvering your mirror. The first step is to carefully remove the mirror from its frame, taking care not to damage the glass. Once the mirror is removed, you can begin the process of removing the old backing using a razor blade. Once the old backing is removed, you can mix the silver nitrate, ammonia, and distilled water in the spray bottle, and apply the mixture to the back of the mirror using a paintbrush. Allow the new backing to dry, and then carefully reinsert the mirror into its frame. With a little bit of effort, you can have your mirror looking as good as new.
Repairing Mirror Desilvering
How To Repair Mirror Desilvering
When you notice that your once pristine mirror is starting to show signs of desilvering, it can be frustrating. Desilvering occurs when the reflective backing on the mirror begins to deteriorate, causing black spots or a cloudy appearance. But fear not, there are ways to repair mirror desilvering and restore it to its former glory.
One method to repair mirror desilvering is by removing the backing of the mirror and applying a new layer of silver or aluminum. This process, known as resilvering, can be done using a resilvering kit or by seeking professional help. Another option is to use a desilvering solution to remove the old backing and then reapply a new reflective layer. Whichever method you choose, it’s important to handle the mirror with care to avoid further damage.
Mirror Resilvering Process
Mirror resilvering is the process of restoring a mirror that has started to show signs of desilvering. Desilvering occurs when the reflective coating on the back of the mirror begins to deteriorate, leading to black spots or areas where the coating has completely worn away. Fortunately, with the right materials and techniques, you can restore the mirror to its former glory.
The first step in the mirror resilvering process is to carefully remove the old backing and any remaining silvering. This can be done using a chemical stripper or by carefully sanding the back of the mirror. Once the old backing has been removed, the mirror should be thoroughly cleaned and prepared for resilvering. This typically involves applying a special primer to the back of the mirror to ensure good adhesion of the new silvering solution. After the primer has dried, the mirror is ready to be resilvered using a silvering solution. Once the solution has been applied and has dried, a protective backing is applied to ensure the new silvering is durable and long-lasting.