Learn step-by-step how to make your repository public on GitHub and share your code with the world. Easy guide for making Git repo public in GitHub.Have you been working on a project and want to showcase your coding skills to the world? Making your GitHub repository public is a great way to do just that. In this blog post, we will walk you through the simple steps to make your repository public on GitHub. Whether you’re new to GitHub or just need a refresher, we’ll cover everything you need to know, from the basics of creating a repository to making it public for the world to see. By the end of this post, you’ll have the knowledge and confidence to share your work with the open-source community. Let’s get started!
How To Make Repository Public Github
Are you trying to figure out how to make your repository public on Github? Making your Github repository public can be a great way to showcase your work to the world, and it can also make it easier for others to contribute to your projects. In this blog post, we will walk you through the process of making your Github repository public, step by step.
First, log in to your Github account and navigate to the repository you want to make public. Once you’re on the repository’s main page, click on the Settings tab, which is located towards the top of the page. From the settings page, scroll down until you see the Danger Zone section. Here, you will find the option to make your repository public. Click on the Make public button, and then confirm your decision by clicking I understand, make this repository public. Your repository is now public, and anyone can view it on Github.
How To Make Git Repository Public
Are you looking to share your code with the world? Making your Git repository public on Github is a great way to showcase your work and collaborate with others. In this blog post, we will walk through the steps to make your Git repository public on Github.
First, log in to your Github account and navigate to the repository you want to make public. Once you are on the repository page, click on the “Settings” tab. Scroll down to the “Danger Zone” section and you will see an option to make the repository public. Click on the “Make public” button and confirm the action. That’s it! Your Git repository is now public and accessible to anyone on the web. Now you can share your code, collaborate with other developers, and contribute to the open source community. Making your Git repository public on Github is a great way to showcase your work and collaborate with others. In this blog post, we will walk through the steps to make your Git repository public on Github.
How To Make Repo Public In Github
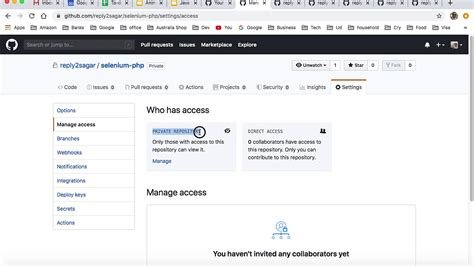
To make a repository public in GitHub, you first need to navigate to the repository that you want to make public. Once you are in the repository, click on the Settings tab.
Next, scroll down to the Danger Zone section, and click on the Change repository visibility button. You will then be prompted to confirm that you want to make the repository public. After confirming, your repository will be accessible to the public, and anyone will be able to view its contents.