Learn how to make a git repository public, create a public git repository, and push it to GitHub with these easy steps. Simplify your Git process today!If you’ve been using Git for version control, you may have realized that by default, your repositories are private. While this is great for keeping your work secure, there may come a time when you need to share your code with others. In this blog post, we’ll explore how to make your Git repository public, as well as how to create a public Git repository from scratch. Additionally, we’ll cover the process of pushing your Git repository to GitHub, one of the most popular platforms for sharing and collaborating on code. Whether you’re a beginner looking to learn the basics or a seasoned developer in need of a refresher, this guide will walk you through the steps to make your Git repo accessible to the world. So, grab your keyboard and let’s get started on making your code open and available to others!
How to Make a Git Repository Public
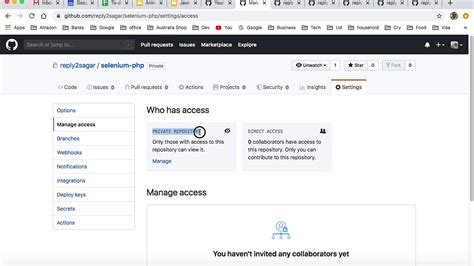
When you have completed your project on Git and want to share it with the world, you may need to make your Git repository public. Making a Git repository public allows others to view, clone, and contribute to your project. To make your Git repository public, you will need to navigate to your project in the command line and use the git push command. This will push your local repository to a remote repository, such as GitHub, and make it publicly accessible.
Before making your Git repository public, it’s important to ensure that all sensitive information, such as passwords and API keys, have been removed from your project. You should also review your project’s README and documentation to ensure it is clear and helpful for others who may want to use or contribute to your project. Once you have addressed these considerations, you can confidently make your Git repository public and share your hard work with the world.
How to Create a Public Git Repository
In order to create a public Git repository, you first need to have a Git repository on your local machine. If you don’t already have a repository, you can create one using the git init command in your project directory. Once you have a repository, you can make it public by pushing it to a hosting service such as GitHub, GitLab, or Bitbucket.
After creating your repository, you can use the git remote add command to add a remote repository as the origin. This will allow you to push your local repository to the remote repository, making it publicly accessible to anyone with the repository’s URL. By following these simple steps, you can easily create a public Git repository and collaborate with others on your projects.
How to Push a Git Repository to GitHub
Pushing a Git repository to GitHub is an essential part of the development process. GitHub is a popular platform for hosting and managing code repositories, and pushing your code to GitHub allows you to collaborate with others and track changes to your code over time.
Before you can push your Git repository to GitHub, you will need to have a GitHub account and create a new repository on the GitHub website. Once you have created a new repository, you can push your local repository to GitHub using the git push command. This command sends your code to the repository on the GitHub website, making it accessible to others and allowing you to manage your code from the GitHub interface.
