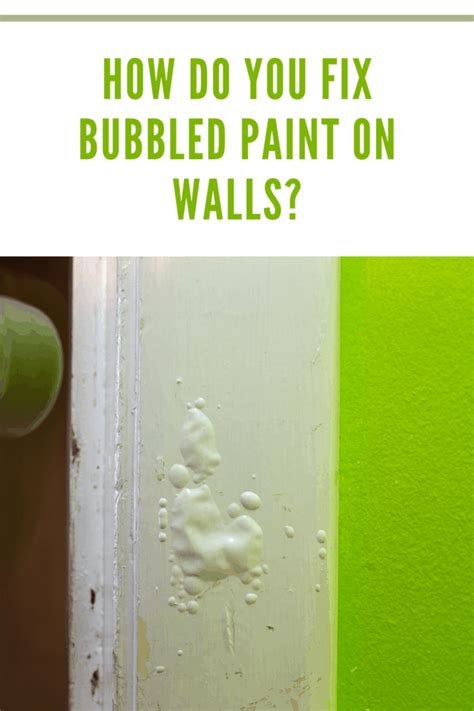
Learn the best techniques for repairing bubbling paint on walls and fixing bubbles in paint with our step-by-step guide. Say goodbye to unsightly paint problems!If you’ve ever noticed bubbling paint on your walls, you know just how frustrating it can be. Whether it’s due to moisture, improper application, or other factors, dealing with bubbled paint can be a headache. But fear not! In this blog post, we will guide you through the process of repairing bubbled paint on walls. From identifying the root cause of the issue to the step-by-step process of fixing it, we’ve got you covered. Say goodbye to unsightly bubbles and hello to smooth, flawless walls once again. So, if you’re ready to tackle this common household problem and restore the beauty of your walls, read on. Whether you’re a seasoned DIY enthusiast or a beginner in home improvement projects, our expert tips and recommendations will help you achieve professional results. Let’s dive into the world of bubbled paint and learn how to fix it once and for all.
How to Repair Bubbling Paint
Are you tired of looking at the unsightly bubbles in your paint job? Don’t worry, you can easily fix this issue with a few simple steps. First, you’ll need to gather your materials, including sandpaper, a putty knife, spackling paste, a paint roller, and paint. Once you have everything you need, start by sanding down the affected area to remove any loose or peeling paint. This will create a smooth surface for the new paint to adhere to.
Next, use the putty knife to apply spackling paste to the bubbled areas, filling them in and smoothing them out. Once the paste has dried, sand it down to ensure a seamless finish. After that, you can proceed to paint over the repaired areas, blending the new paint with the existing paint job. Once the paint has dried, your walls will look as good as new, with no more unsightly bubbles in sight.
How to Fix Bubbles in Paint
Bubbling paint can be a frustrating problem, but it’s a common issue that many homeowners face. Whether you’re dealing with bubbles on your walls or other surfaces, it’s important to address the problem as soon as possible to prevent further damage. There are several potential causes of paint bubbling, including moisture, improper surface preparation, or applying paint in extreme temperatures. The good news is that there are steps you can take to repair and prevent paint bubbles, restoring the look of your walls and surfaces.
One of the first steps in repairing bubbled paint is to identify the underlying cause of the issue. If the bubbles are caused by moisture, you’ll need to address the source of the moisture before proceeding with repairs. This may involve fixing leaks, improving ventilation, or addressing other issues that are contributing to the problem. Once the root cause of the issue has been addressed, you can move on to repairing the bubbled paint itself. This may involve sanding down the affected areas, applying a primer, and repainting the surface. By taking the time to properly address the cause of the bubbling and following the right repair steps, you can achieve a smooth, professional-looking finish.
Repairing Bubbling Paint on Walls
Bubbling paint on walls can be a frustrating issue for homeowners. Not only does it make the walls look unsightly, but it can also be a sign of a larger underlying problem. The good news is that repairing bubbled paint on walls is a task that can be tackled with a little know-how and some elbow grease.
One common cause of bubbled paint on walls is moisture. If the walls were not properly primed before painting, or if there is a leak or moisture issue within the wall, it can cause the paint to bubble and peel. To repair the bubbled paint, start by identifying and addressing the source of the moisture. Once the underlying issue has been resolved, use a putty knife to scrape away the bubbled paint. Sand the area smooth, apply a coat of primer, and then repaint the wall with a high-quality paint to prevent future bubbling.
